Hotpoint Stove Owners Manual: A Comprehensive Guide
Welcome! This detailed manual provides a step-by-step guide for effortless operation, covering setup, maintenance, and troubleshooting of your Hotpoint stove, as of today, 05/04/2026.
Congratulations on selecting a Hotpoint stove! This manual serves as your comprehensive resource, designed to ensure optimal performance and longevity of your new appliance. We understand that operating a modern stove can seem daunting, but this guide breaks down every aspect into manageable steps.
Whether you’ve recently purchased a gas or electric Hotpoint model, this manual will familiarize you with its features and functions. It’s crucial to read this entire manual before your first use, paying close attention to the safety precautions outlined within.
This document, dated May 4th, 2026, provides information on everything from understanding model numbers and serial plates to advanced settings like Sabbath Mode. We aim to empower you with the knowledge to confidently and safely utilize all that your Hotpoint stove has to offer. Remember to retain this manual for future reference.
Understanding Model Numbers and Serial Plates
Locating your Hotpoint stove’s model number and serial plate is essential for accurate service, warranty claims, and ordering replacement parts. These identifying marks provide crucial information about your specific appliance configuration. Typically, the serial plate is found in a visible location, often on the frame of the stove when the oven door is open, or on the back panel.
The model number details the specific features and capabilities of your stove. The serial number is a unique identifier assigned to your individual unit during manufacturing. Keep a record of both numbers in a safe place.
When contacting Hotpoint customer support (details provided later in this manual), having these numbers readily available will expedite the process. Information regarding Constellation Energy Corporation, the parent company, can be found on their Investor Relations website. This information is current as of February 24, 2026.

Safety Precautions and Warnings
Prior to operating your Hotpoint stove, carefully review these vital safety precautions. Always ensure proper ventilation when in use, especially during self-cleaning cycles. Never leave the stove unattended while cooking, and keep flammable materials away from burners and heating elements. Children should never be allowed near the stove without adult supervision.
For gas models, be alert for gas leaks; if you smell gas, immediately evacuate and contact your gas company. For electric models, avoid contact with hot surfaces and ensure the appliance is properly grounded. Refer to Constellation Energy Corporation’s website for general safety information, updated February 24, 2026.
Disconnect power before any maintenance or cleaning. Improper installation or use can create a hazard. This manual, dated May 4, 2026, provides essential guidance for safe operation.
Operating Your Hotpoint Stove
Explore efficient cooking! This section details how to utilize your Hotpoint stove’s cooktop, oven features, and self-cleaning cycle for optimal performance and ease.
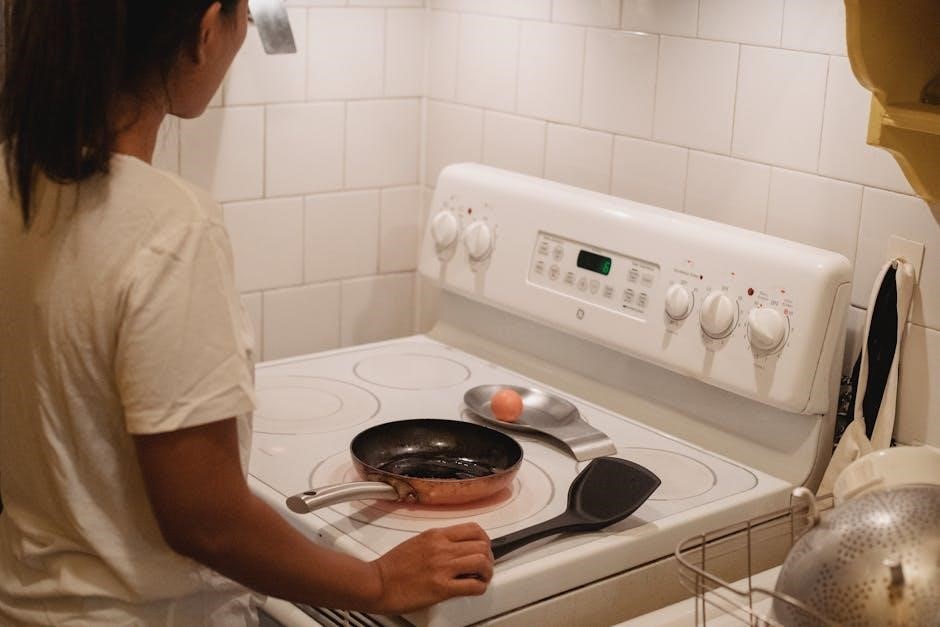
Control Panel Overview: Knobs, Buttons, and Displays
Understanding the Interface: Your Hotpoint stove’s control panel is designed for intuitive operation. The knobs typically control burner heat levels on the cooktop, offering precise adjustments from low simmer to high heat. Digital models feature electronic buttons for selecting oven functions like bake, broil, roast, and self-clean.
Displays & Indicators: The display panel showcases the current oven temperature, timer settings, and selected cooking mode. Indicator lights illuminate to signal when burners are active or the oven is preheating. Some models include a clock and a control lock feature, indicated by specific icons. Familiarize yourself with these symbols for safe and efficient use. Advanced features, like Sabbath mode, may also have dedicated buttons or settings accessible through the control panel.
Customization Options: Depending on the model, you might find options to adjust display brightness or sound volume. Refer to the specific diagrams in this manual for a detailed layout of your stove’s control panel.
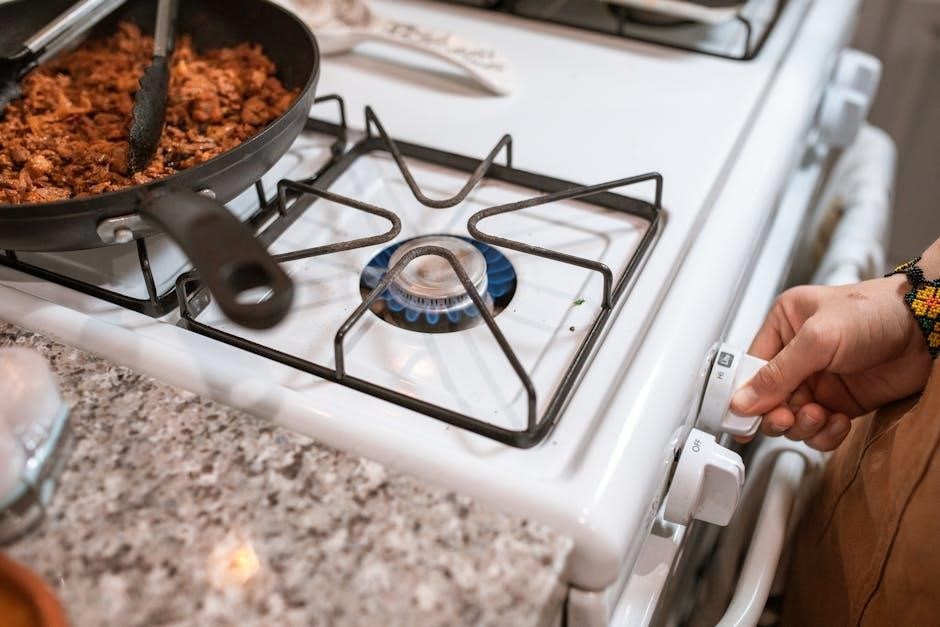
Using the Cooktop: Burner Controls and Settings
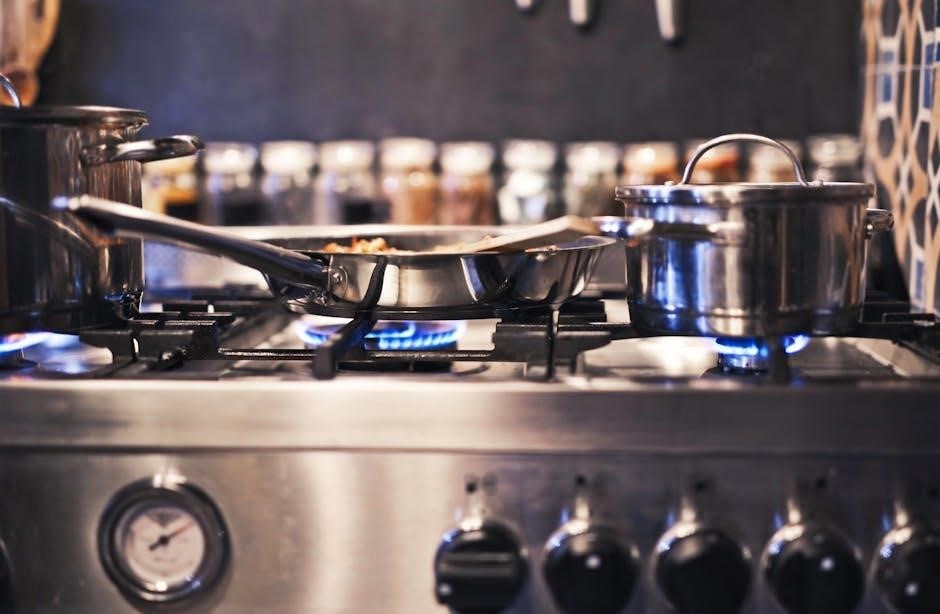
Burner Operation: Hotpoint cooktops utilize knobs to regulate burner output. Rotate clockwise to increase heat, starting with the ‘High’ setting for rapid boiling or searing. Reduce to ‘Medium’ for general cooking, and ‘Low’ for simmering or keeping food warm. Ensure proper pot and pan size for efficient heat transfer.
Burner Types: Your stove may feature various burner types, including standard coil burners, smooth-top radiant elements, or sealed gas burners. Each type responds slightly differently to control adjustments; Gas burners offer instant visual feedback of flame size, while electric elements require a brief warm-up period.
Safety First: Never leave a cooktop unattended while in use. Always ensure burners are completely cool before cleaning. Avoid placing flammable materials near active burners. Refer to the ‘Safety Precautions’ section for detailed guidelines.
Oven Operation: Baking, Broiling, and Roasting
Baking Mode: For baking, select the ‘Bake’ setting and set the desired temperature using the control panel. Preheating is recommended for consistent results. Position oven racks in the center for most baking tasks.
Broiling Mode: Utilize the ‘Broil’ setting for direct, high-heat cooking. Position food on the top rack, closer to the element. Monitor closely to prevent burning. Broiling is ideal for quickly searing meats or browning casseroles.
Roasting Mode: Roasting employs moderate heat for extended cooking times. Use a roasting pan and position the rack accordingly. Consider using the ‘Convection’ setting (if available) for even browning and faster cooking. Always use oven mitts when handling hot cookware.
Self-Cleaning Oven Cycle: Instructions and Safety
Initiating the Cycle: To begin the self-cleaning cycle, ensure the oven is completely empty, removing all racks, cookware, and any loose debris. Select the ‘Self Clean’ option on the control panel and choose the desired cleaning duration – typically 2 to 4 hours.
Safety Precautions: During the self-cleaning cycle, the oven reaches extremely high temperatures. Never open the oven door until the cycle is complete and the oven has cooled. Keep children and pets away from the oven during operation.
Post-Cycle: Once cooled, wipe away any ash residue with a damp cloth. Ensure adequate ventilation during and after the cycle, as some odor may be present. Avoid spraying water on a hot oven.

Maintenance and Care
Regular upkeep ensures optimal performance and longevity of your Hotpoint stove; cleaning cooktops, interiors, and exteriors are crucial for sustained functionality.
Cleaning the Cooktop: Recommended Methods
Maintaining a pristine cooktop is essential for both appearance and performance. For daily cleaning, allow the surface to cool completely before wiping with a soft cloth dampened with warm, soapy water. Avoid abrasive cleaners, scouring pads, or steel wool, as these can scratch the surface. For stubborn spills or burnt-on food, a cooktop cleaning cream specifically designed for your stove’s surface – whether it’s ceramic glass, porcelain enamel, or stainless steel – is recommended.
Apply the cream, gently rub in a circular motion, and then wipe clean with a damp cloth. Rinse thoroughly and dry with a clean towel. For heavily soiled areas, you may need to repeat the process. Always refer to your Hotpoint stove’s specific model instructions for any unique cleaning recommendations or warnings. Remember to disconnect the power before any deep cleaning procedures.
Cleaning the Oven Interior: Manual and Self-Clean Options
Your Hotpoint oven offers both manual and self-cleaning options for maintaining a spotless interior. For manual cleaning, ensure the oven is cool. Remove racks and any loose debris. Create a paste of baking soda and water, apply it to the interior surfaces, avoiding heating elements and vents. Let it sit for several hours, then scrub with a damp sponge and rinse thoroughly.
Alternatively, utilize the self-cleaning cycle. Remove racks before initiating. This cycle heats the oven to extremely high temperatures, burning off food residue. Ensure adequate ventilation during the self-clean process, as it may produce odors. Follow all safety precautions outlined in the manual, and avoid touching the oven during or immediately after the cycle.
Cleaning the Exterior: Stainless Steel and Painted Surfaces
Maintaining the exterior of your Hotpoint stove ensures its lasting beauty. For stainless steel surfaces, use a dedicated stainless steel cleaner and a soft cloth, wiping with the grain to avoid scratches. Avoid abrasive cleaners, which can damage the finish. For painted surfaces, a mild dish soap and warm water solution is generally sufficient.
Apply the solution with a soft cloth, gently wiping away any spills or grime. Rinse with a clean, damp cloth and dry thoroughly. Avoid harsh chemicals or scouring pads, as these can dull or remove the paint. Regular cleaning prevents buildup and keeps your Hotpoint stove looking its best. Always test cleaners in an inconspicuous area first.
Replacing Oven Bulbs
To replace the oven bulb, always disconnect the power to the stove at the circuit breaker or by unplugging it. Allow the oven to cool completely before attempting this task. Locate the bulb cover, usually at the back of the oven interior, and remove it – often by unscrewing or unclipping. Carefully remove the old bulb, noting its type and wattage for replacement.
Insert the new bulb, ensuring it’s securely fitted. Replace the bulb cover and restore power. If the bulb doesn’t illuminate, double-check the bulb is correctly installed and compatible. Caution: Never operate the oven without the bulb cover in place.
Troubleshooting Common Issues
Facing problems? This section details solutions for issues like ignition failures, uneven temperatures, and heating problems, alongside explanations of error codes for your Hotpoint stove.
Stove Not Igniting: Gas and Electric Models
Gas Stove Ignition Issues: If your gas Hotpoint stove fails to ignite, first ensure the gas supply is turned on. Check the igniter – it should click when the knob is turned. A faulty igniter or a blocked burner port can prevent ignition. Clean the burner ports with a wire or pin. If clicking is absent, the igniter may need replacement.
Electric Stove Ignition Issues: For electric models, verify the stove is receiving power. Check the circuit breaker or fuse box. If power is present, the heating element itself might be defective. A visual inspection can reveal breaks or damage. Also, confirm the control panel is functioning correctly; a faulty control board can prevent element activation. If issues persist, professional service is recommended.
General Checks: Always prioritize safety; if you smell gas, immediately shut off the supply and ventilate the area. Never attempt repairs if you are uncomfortable or unsure.
Uneven Cooking Temperatures: Calibration and Adjustment
Identifying the Problem: If your Hotpoint stove exhibits uneven cooking temperatures, food may cook faster on one side or in one area of the oven. This can stem from inaccurate oven temperature calibration or a malfunctioning temperature sensor. Begin by verifying the oven is level; an unlevel stove can contribute to uneven heat distribution.
Calibration Process: Many Hotpoint stoves allow for temperature calibration. Consult your model’s specific instructions – often found within the control panel settings – to adjust the oven temperature. Incrementally adjust the temperature up or down in small steps (e.g., 10°F) and test with a calibrated oven thermometer.
Professional Assistance: If calibration doesn’t resolve the issue, a faulty temperature sensor or heating element may require professional diagnosis and repair.
Oven Not Heating: Element and Control Issues
Initial Checks: If your Hotpoint oven isn’t heating, first ensure the power supply is active and the control panel is displaying correctly. Verify the oven mode is properly selected (Bake, Broil, etc.). A tripped circuit breaker or a blown fuse can also prevent heating.
Element Inspection: A common cause is a failed heating element. Carefully inspect both the bake and broil elements for any visible breaks or damage. Caution: Disconnect power before inspecting elements! A broken element will require replacement.
Control Board Diagnosis: If the elements appear intact, the issue may lie with the oven control board. This requires professional diagnosis and repair, as it involves electrical components and safety considerations.
Error Codes and Their Meanings
Understanding Error Signals: Your Hotpoint stove utilizes error codes to diagnose internal issues. These codes appear on the control panel display, signaling a problem requiring attention. Always consult this section before contacting customer support.
Common Codes: While specific codes vary by model, some frequent errors include “E1” (temperature sensor fault), “E2” (ignition failure – gas models), and “F0” (control board communication error). A flashing code often indicates an ongoing issue, while a static code suggests a completed fault.
Troubleshooting Steps: Refer to your stove’s specific error code list (often found inside the oven door or in supplemental documentation) for detailed troubleshooting steps. Resetting the stove by disconnecting power for several minutes can sometimes clear minor errors.
Advanced Features & Settings
Explore enhanced functionalities! Discover timer settings, control lock options for safety, and the specialized Sabbath Mode operation within your Hotpoint stove.
Timer and Clock Settings
Setting the Clock: Your Hotpoint stove features a digital clock for accurate timekeeping. To set the clock, typically you’ll press and hold the ‘Clock’ button until the hour display flashes. Use the number pads or arrow keys to adjust the hour, then press ‘Clock’ again. Repeat this process for the minutes. Confirm your settings by pressing ‘Clock’ one final time.
Utilizing the Timer: The timer function allows you to conveniently set cooking durations. Press the ‘Timer’ button, then enter the desired cooking time using the number pads. Select your preferred timer signal – a beep or chime – and press ‘Start’. The timer will count down, alerting you when the set time elapses. You can check the remaining time on the display. Some models offer a delayed start timer, enabling you to program the stove to begin cooking at a future time.
Important Note: Refer to your specific model’s instructions for detailed guidance, as button layouts and functionalities may vary slightly.
Control Lock Function
Activating Control Lock: The Control Lock function prevents accidental or unauthorized operation of your Hotpoint stove, particularly useful in households with children. To activate, typically press and hold the ‘Lock’ or ‘Control Lock’ button for a specified duration – usually three to five seconds. A lock indicator light will illuminate on the control panel, confirming activation.
Deactivating Control Lock: To deactivate the Control Lock, repeat the process: press and hold the ‘Lock’ or ‘Control Lock’ button for the same duration. The lock indicator light will turn off, restoring normal stove operation. Ensure the stove is in a safe state before deactivating the lock.
Important Considerations: Some models may require a specific button combination to engage or disengage the control lock. Always consult your model’s specific manual for precise instructions, as procedures can differ. This feature enhances safety and peace of mind.
Sabbath Mode Operation
Understanding Sabbath Mode: Hotpoint stoves offer a Sabbath Mode designed to comply with Jewish Sabbath observance practices. This mode allows for extended cooking periods while disabling certain functions that violate Sabbath restrictions, such as automatic shut-off or display illumination. Activation varies by model, often involving a specific button sequence.
Activating & Deactivating: Typically, activating Sabbath Mode involves pressing and holding specific buttons (e.g., ‘Bake’ and ‘Timer Clear’) simultaneously for a few seconds. The display will usually indicate “Sabbath Mode” is active. Deactivation follows a similar procedure. Refer to your specific model’s manual for precise instructions.
Functionality in Sabbath Mode: While in Sabbath Mode, the oven will maintain a set temperature for an extended duration. However, the display will remain dark, and automatic shut-off features will be disabled. Always exercise caution and monitor cooking times manually.
Warranty Information and Support
Hotpoint provides warranties covering parts and labor for a specified period. For support, or to understand warranty details, contact Hotpoint customer service directly for assistance.
Hotpoint Warranty Details
Your Hotpoint stove is covered by a limited warranty, protecting against manufacturing defects in materials and workmanship for a defined timeframe. The standard warranty typically begins on the original date of purchase, offering one year of coverage for parts and labor on most components.

Specific components, like the surface elements or oven racks, may have differing warranty durations. Extended warranty options are often available for purchase, providing additional peace of mind beyond the standard coverage period.
To make a warranty claim, retain your proof of purchase and contact Hotpoint customer support. The warranty does not cover damage resulting from misuse, improper installation, accidents, or normal wear and tear. Review the complete warranty documentation included with your appliance for full terms and conditions.
Contacting Hotpoint Customer Support
For assistance with your Hotpoint stove, several convenient options are available to reach their dedicated customer support team. You can visit the official Hotpoint website to access a comprehensive FAQ section, troubleshooting guides, and online chat support.
Alternatively, you can connect with a representative via phone during business hours. The customer support phone number is readily available on the Hotpoint website and in your owner’s manual. When contacting support, have your model number and serial plate information handy to expedite the process.
Hotpoint also offers support through social media channels. Detailed contact information and support resources are designed to ensure a positive customer experience.